
KVM虚拟机热扩容
阅读 (14229)
分享
创建一个虚拟机用于练习在线扩容
virt-install --name centos8-3 --memory 4096,currentMemory=1024  --vcpus 2,maxvcpus=8 --disk /var/lib/libvirt/images/centos8-3.qcow2,bus=virtio,format=qcow2 --import --os-variant rhel8.0  --graphics vnc   --network network=default

 --name centos8-3
 --memory 4096,currentMemory=1024
 --vcpus 2,maxvcpus=8
 --disk /var/lib/libvirt/images/centos8-3.qcow2,bus=virtio,format=qcow2 --import
 --os-variant rhel8.0
 --graphics vnc
 --network network=default
一、磁盘在线扩容
- 热添加一块磁盘
- 热删除一块磁盘
- 为磁盘扩容
1.1、热添加一块磁盘
注意:生产环境下,物理机热添加硬盘,要求你的新盘必须是企业级硬盘,否则不支持热插拔
a、生成一个磁盘
[root@zutuanxue ~]# qemu-img create -f qcow2 /var/lib/libvirt/images/centos8-3_add.img 20G
Formatting '/var/lib/libvirt/images/centos8-3_add.img', fmt=qcow2 size=21474836480 cluster_size=65536 lazy_refcounts=off refcount_bits=16
b、扩容虚拟机磁盘
[root@zutuanxue ~]# virsh attach-disk --domain centos8-3 --source /var/lib/libvirt/images/centos8-3_add.img --target vdb --targetbus virtio
成功附加磁盘
1.2、在线剥离磁盘
[root@zutuanxue ~]# virsh detach-disk --domain centos8-3 --target vdb
成功分离磁盘
FAQ1:
注意,此时添加的磁盘默认的是raw磁盘,我们创建的是qcow2磁盘,所以容量不对。
解决问题需要添加磁盘格式: --subdriver qcow2
--subdriver qcow2
剥离后再次添加磁盘
[root@zutuanxue ~]# virsh attach-disk --domain centos8-3 --source /var/lib/libvirt/images/centos8-3_add.img --target vdb --targetbus virtio --subdriver qcow2
成功附加磁盘
FAQ2:
关机,再次开机后发现磁盘丢失,原因是因为我们添加是临时添加的,如果希望永久添加 加上参数: --config
config参数的意思是修改xml文件,下次启动加载xml的时候就加载设备了。
再次添加,--config  下次启动才会生效
[root@zutuanxue ~]# virsh attach-disk --domain centos8-3 --source /var/lib/libvirt/images/centos8-3_add.img --target vdb --targetbus virtio --subdriver qcow2 --config
成功附加磁盘
热添加硬盘总结
立即生效
[root@zutuanxue ~]# virsh attach-disk --domain centos8-3 --source /var/lib/libvirt/images/centos8-3_add.img --target vdb --targetbus virtio --subdriver qcow2

下次生效
[root@zutuanxue ~]# virsh attach-disk --domain centos8-3 --source /var/lib/libvirt/images/centos8-3_add.img --target vdb --targetbus virtio --subdriver qcow2 --config
热剥离硬盘总结
临时剥离
[root@zutuanxue ~]# virsh detach-disk --domain centos8-3 --target vdb
成功分离磁盘


永久剥离
[root@zutuanxue ~]# virsh detach-disk --domain centos8-3 --target vdb  --config
成功分离磁盘
接下来就是格式化、挂载使用吧。
此处省略一万个字
1.3、磁盘扩容
-
剥离扩容磁盘出来
-
扩容磁盘到目标容量
-
将扩容后的磁盘附加回去
-
扩容磁盘文件系统
a、将扩容磁盘先剥离
剥离vdb磁盘
[root@zutuanxue ~]# virsh detach-disk --domain centos8-3 vdb
成功分离磁盘
b、扩容剥离出来的磁盘
扩容到目标容量
[root@zutuanxue ~]# qemu-img resize /var/lib/libvirt/images/centos8-3_add.img +20G  [也可以直接写目标的容量]
Image resized.

查看磁盘情况
[root@zutuanxue ~]# qemu-img info /var/lib/libvirt/images/centos8-3_add.img
image: /var/lib/libvirt/images/centos8-3_add.img
file format: qcow2
virtual size: 40G (42949672960 bytes)
disk size: 200K
cluster_size: 65536
Format specific information:
    compat: 1.1
    lazy refcounts: false
    refcount bits: 16
    corrupt: false
c、热添加磁盘
将扩容后的磁盘添加回去
[root@zutuanxue ~]# virsh attach-disk --domain centos8-3 --source /var/lib/libvirt/images/centos8-3_add.img --target vdb --targetbus virtio --subdriver qcow2
成功附加磁盘
d、发现文件系统中显示依然是原大小-扩容文件系统==[更新分区表]==
[root@zutuanxue ~]# xfs_growfs /abc  [8开始改命令后要加的是挂载点]

ext分区的化使用这个命令更新 resize2fs  /dev/vdb
FAQ: xfs_growfs: /dev/vdb1 is not a mounted XFS filesystem
KVM_162#xfs_growfs /dev/vdb1
xfs_growfs: /dev/vdb1 is not a mounted XFS filesystem

解决方案
#重写分区表,以便分区占用它所能占用的所有空间
KVM_162#growpart /dev/vdb 1
CHANGED: partition=1 start=2048 old: size=41940992 end=41943040 new: size=83883999,end=83886047

#刷新分区表
KVM_162#xfs_growfs /abc
meta-data=/dev/vdb1              isize=512    agcount=4, agsize=1310656 blks
         =                       sectsz=512   attr=2, projid32bit=1
         =                       crc=1        finobt=1, sparse=1, rmapbt=0
         =                       reflink=1
data     =                       bsize=4096   blocks=5242624, imaxpct=25
         =                       sunit=0      swidth=0 blks
naming   =version 2              bsize=4096   ascii-ci=0, ftype=1
log      =internal log           bsize=4096   blocks=2560, version=2
         =                       sectsz=512   sunit=0 blks, lazy-count=1
realtime =none                   extsz=4096   blocks=0, rtextents=0
data blocks changed from 5242624 to 10485499
二、网卡热添加
- 网卡添加
#桥接
[root@zutuanxue ~]# virsh attach-interface --domain centos8-3 --type bridge --source br0 --model virtio --config
成功附加接口

#NAT
[root@zutuanxue ~]# virsh attach-interface --type network --domain centos8-3 --source default --config
成功附加接口


关于type  source不会写的可以参考xml文件
<interface type='network'>
      <mac address='52:54:00:30:38:55'/>
      <source network='default'/>
      <model type='rtl8139'/>
      <address type='pci' domain='0x0000' bus='0x09' slot='0x01' function='0x0'/>
    </interface>

可以看到  type   ”source network“这两个字段吧
- 网卡剥离
剥离要指定剥离网卡的Mac地址
永久剥离
[root@zutuanxue ~]# virsh detach-interface --domain centos8-3 --mac 52:54:00:43:b8:3c --type bridge --config
成功分离接口

临时剥离
[root@zutuanxue ~]# virsh detach-interface --domain centos8-3 --mac 52:54:00:95:b7:0e --type network
成功分离接口
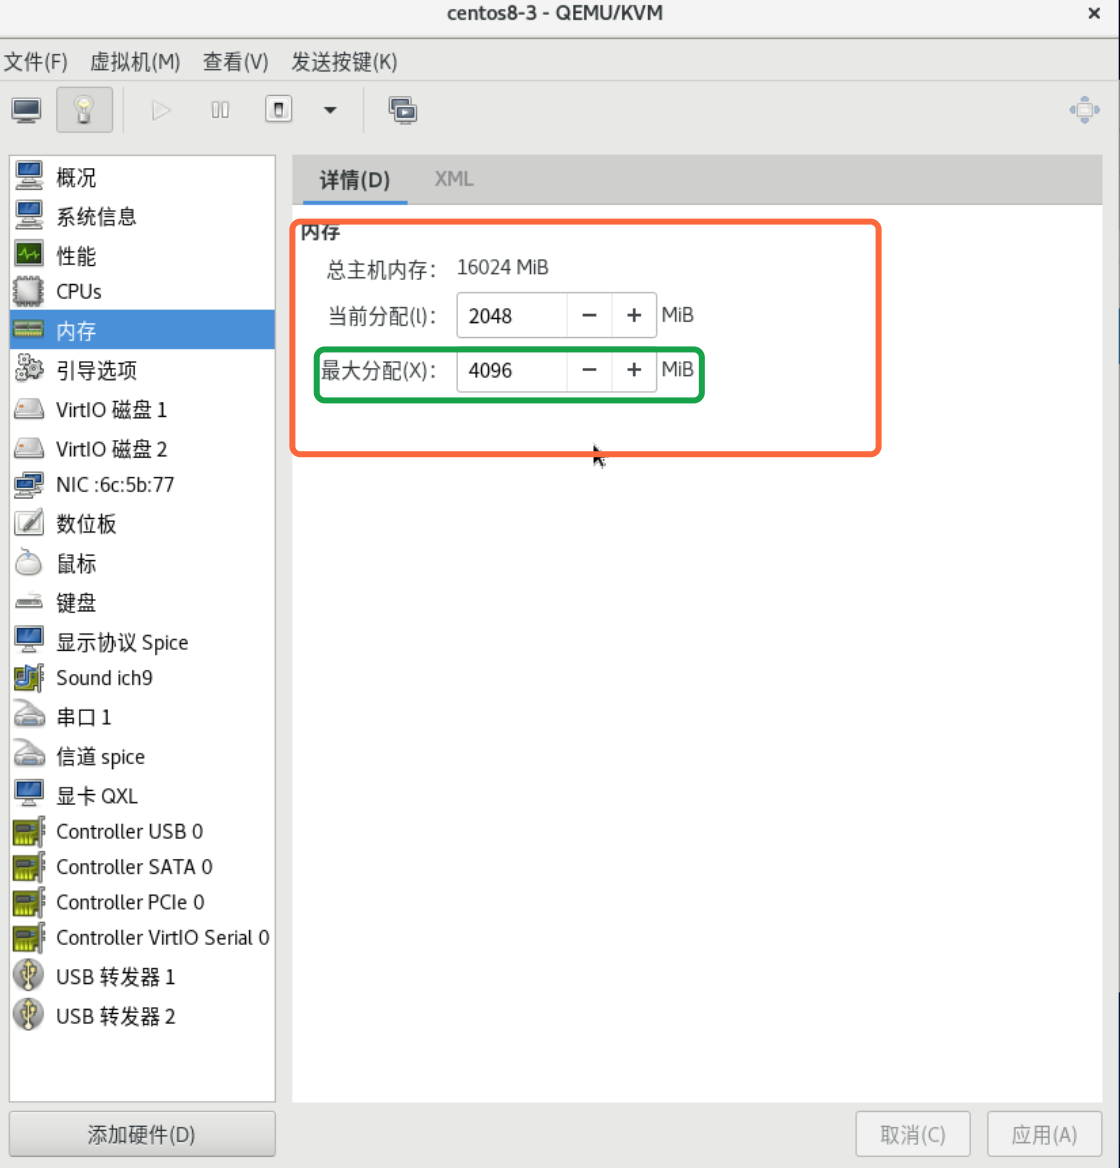
三、内存热添加
内存热添加的基础是必须设置最大内存的容量,否则无法添加,最大扩展不能超过最大分配
扩容内存
#将原来1G的内容扩容到2G
[root@zutuanxue ~]# virsh setmem --domain centos8-3 --size 2048M --live --config

--size 目标容量
--live 运行的机器
创建机器时可以指定
--memory memory=1024,currentMemory=512
缩小内存
同样的方法,指定内存目标容量即可
临时
[root@zutuanxue ~]# virsh setmem --domain centos8-3 --size 512M --live

永久
[root@zutuanxue ~]# virsh setmem --domain centos8-3 --size 512M --live --config
四、CPU热添加
添加CPU
该虚拟机必须指定了最大cpu数量 –vcpus 5,maxvcpus=10
临时
[root@zutuanxue ~]# virsh setvcpus --domain centos8-3 6 --live

永久
[root@zutuanxue ~]# virsh setvcpus --domain centos8-3 6 --live --config
注意:CPU目前是不支持回收的。

微信扫描 获取更多学习资料
需要
登录
才可以提问哦
: